
Choose the right Intex model
Selecting the correct Intex hot tub requires matching capacity and features to your space and budget. The two main lines are PureSpa and SimpleSpa. PureSpa models include LED lighting, headrests, and insulated covers, while SimpleSpa models offer basic bubble massage at a lower price.
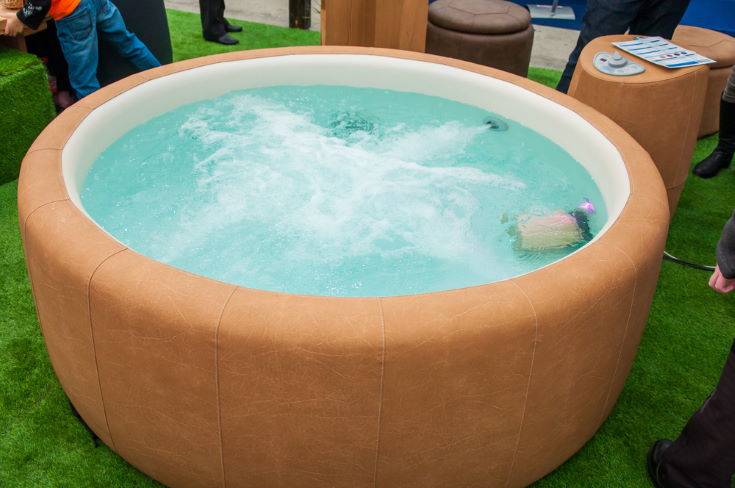
Seat count is the most critical factor. Inflatable hot tubs are marketed by maximum capacity, but realistic comfort means sitting down to two fewer seats than the label claims. A 4-person tub typically fits two adults comfortably, while a 6-person tub suits four. Round tubs are standard, but square models like the PureSpa Greystone Deluxe often feel more spacious and offer better ergonomics for groups.
| Model | Capacity | Jet Type | Heating Speed |
|---|---|---|---|
| SimpleSpa 4-Person | 4 | Bubble Massage | Standard |
| SimpleSpa 6-Person | 6 | Bubble Massage | Standard |
| PureSpa 4-Person | 4 | Bubble Massage | Faster |
| PureSpa 6-Person Square | 6 | Bubble Massage | Faster |
| PureSpa Greystone Deluxe | 6 | Bubble Massage + LED | Fastest |


As an Amazon Associate, we may earn from qualifying purchases.
Prepare the installation site
Setting up Intex hot tubs starts with choosing a spot that can support the weight. Water weighs roughly 8.34 pounds per gallon, so a fully loaded 6-person tub can exceed 2,000 pounds. Your installation surface must support this load without shifting or settling.
Choose a solid, level foundation like concrete, pavers, or a reinforced deck. Soft ground, grass, or uneven patios will cause the inflatable base to sink or tilt. Use a carpenter’s level to check the surface before inflating the tub. Even a slight slope can stress the seams and lead to leaks over time.
Place a protective ground cloth or foam mat under the tub. This shield prevents sharp stones, debris, or UV exposure from damaging the PVC bottom. Make sure the area is clear of overhead branches, furniture, or electrical cords that could interfere with setup or maintenance.
Inflate and connect the pump
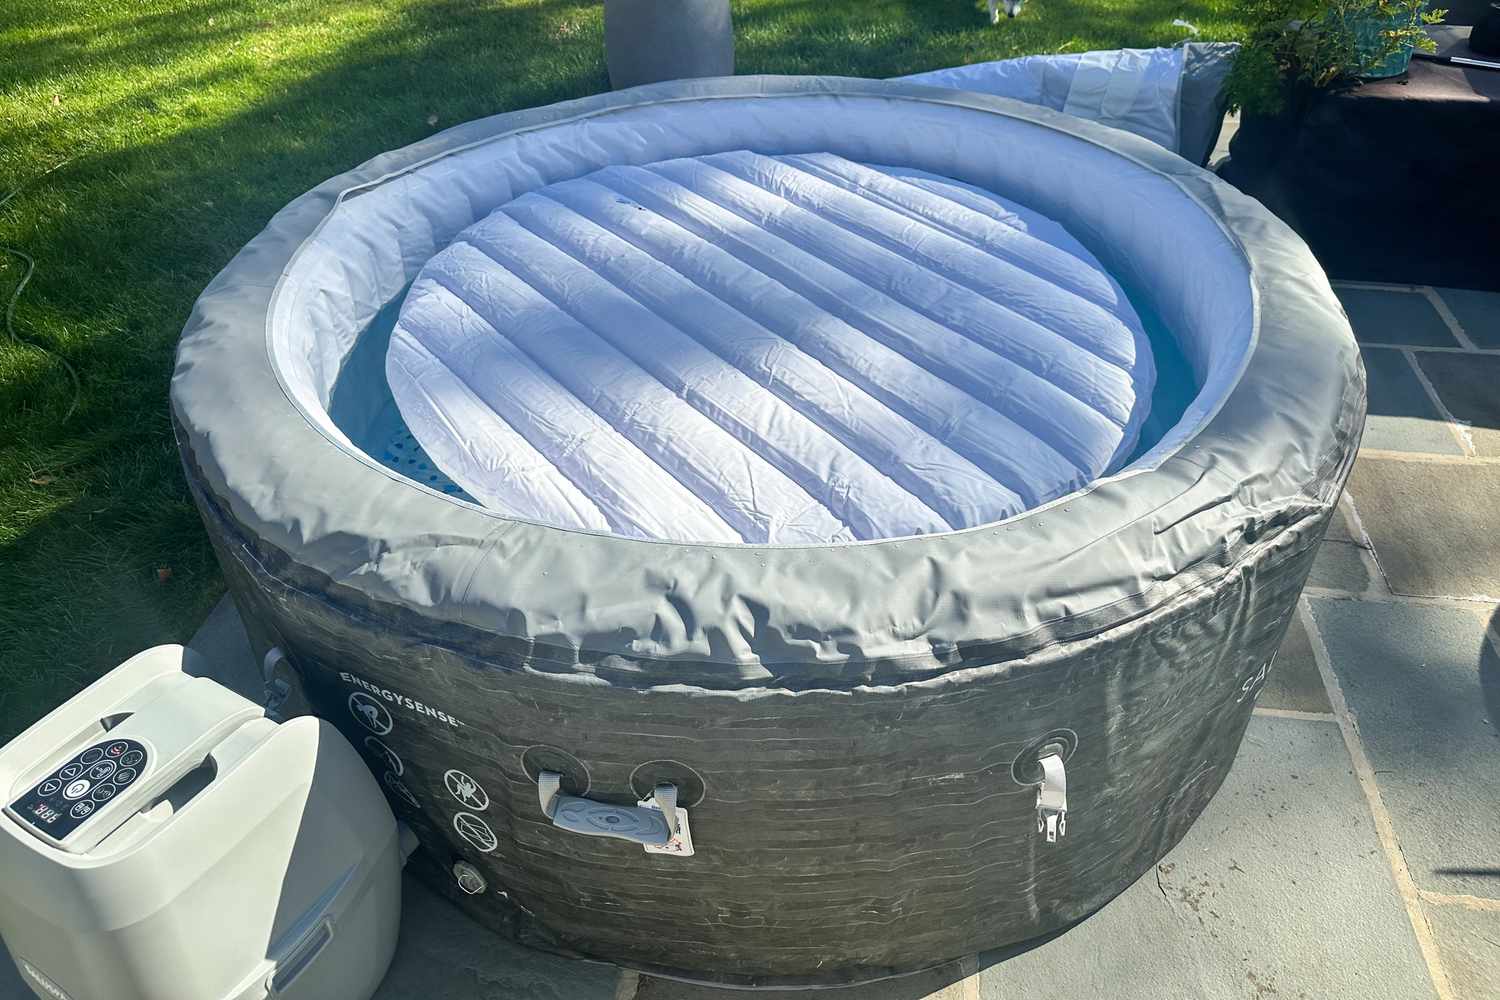
Proper inflation is the foundation of your Intex hot tub. The base acts as the structural skeleton; if it is underinflated, the weight of the water will cause the walls to bow and the seams to stress. Overinflation can distort the shape and make the tub unstable.
Inflate the base evenly
Start by connecting the included electric air pump to the main inflation valve. Run the pump until the base feels firm but not rigid. Check the pressure gauge if your model includes one, aiming for the manufacturer’s recommended PSI (usually between 2 and 4 PSI). Rotate around the base to ensure the inflation is uniform. An uneven base is the most common cause of early leaks or structural failure.
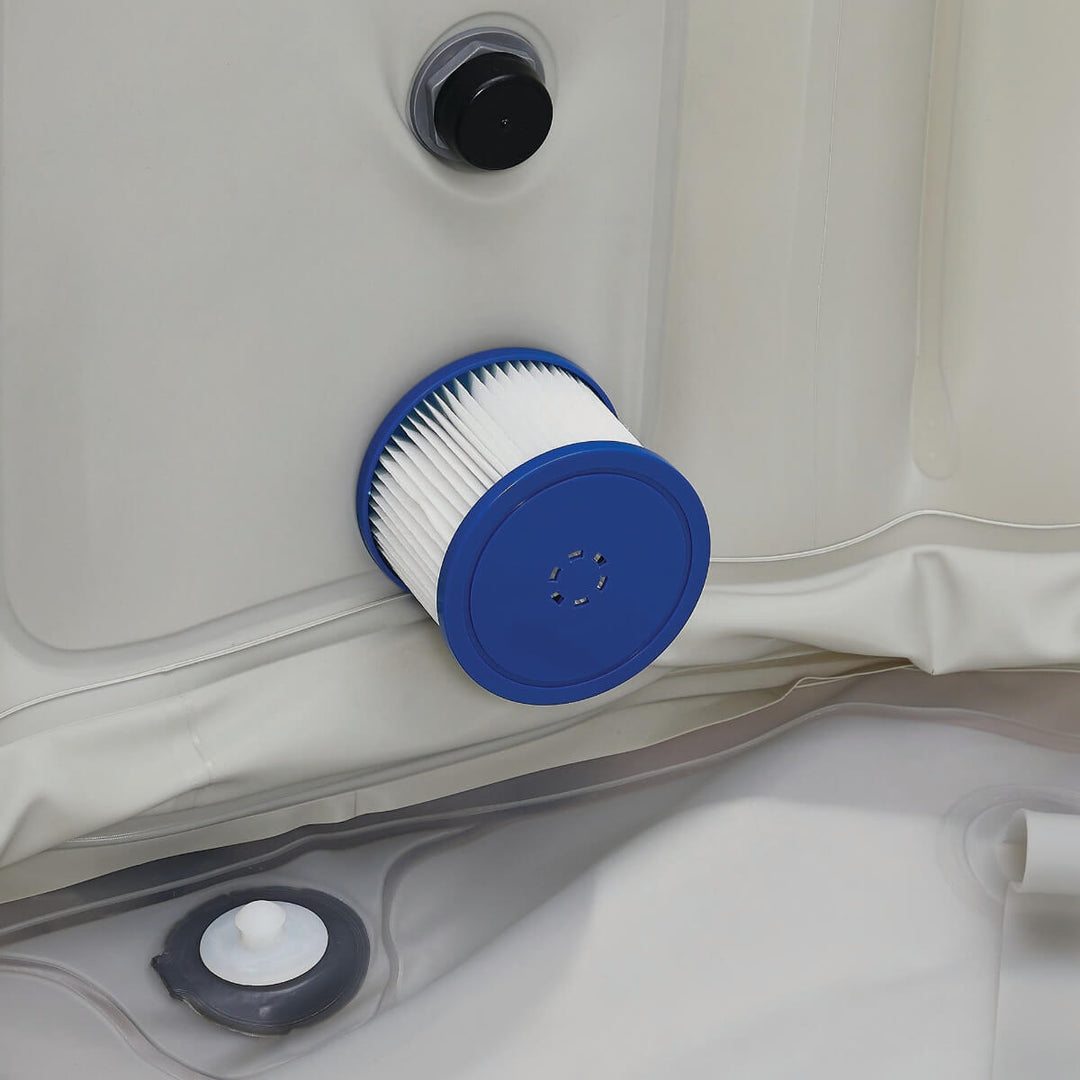
Attach the pump and filter cartridge
Once the base is stable, position the pump unit. Insert the filter cartridge into the pump housing before connecting the hoses. This prevents you from having to drain the tub later to install the filter. Connect the inlet and outlet hoses securely to the pump and the tub’s internal ports. Ensure the quick-connect clips snap into place with an audible click. A loose connection will cause air leaks and reduce heating efficiency.
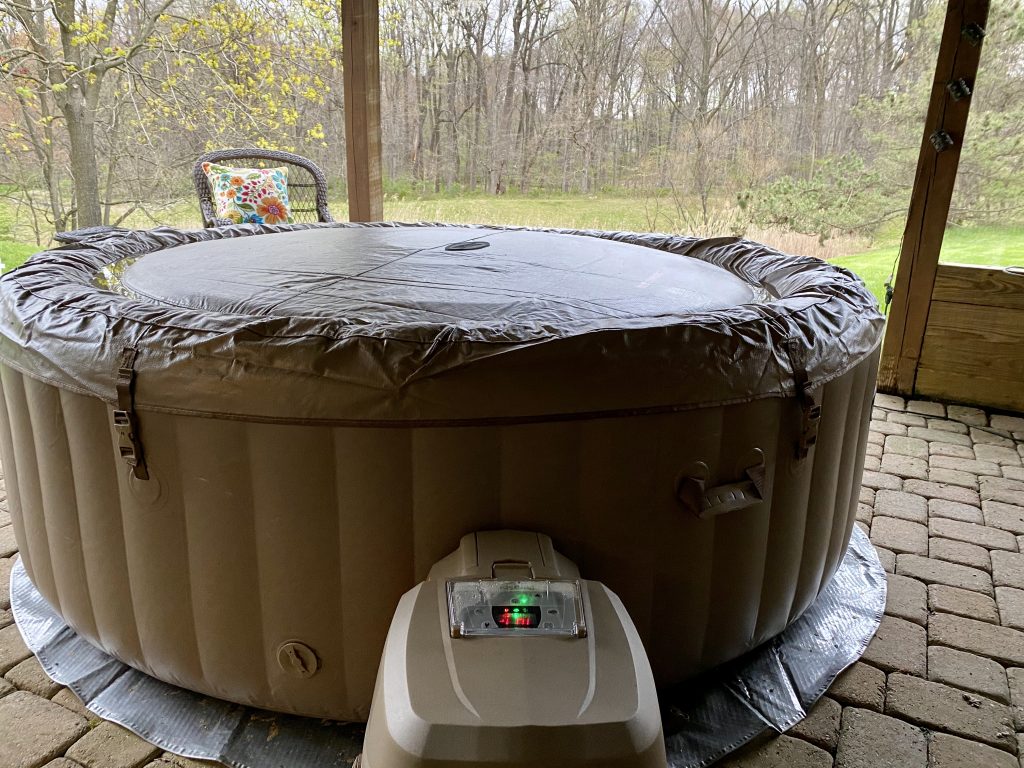
Secure the control panel
The control panel mounts to the outside of the tub wall using the provided strap. Route the power cord through the designated grommet to prevent pinching. Tighten the strap so the panel sits level and is easy to read. Plug the pump into a grounded outdoor outlet using a GFCI-protected extension cord.
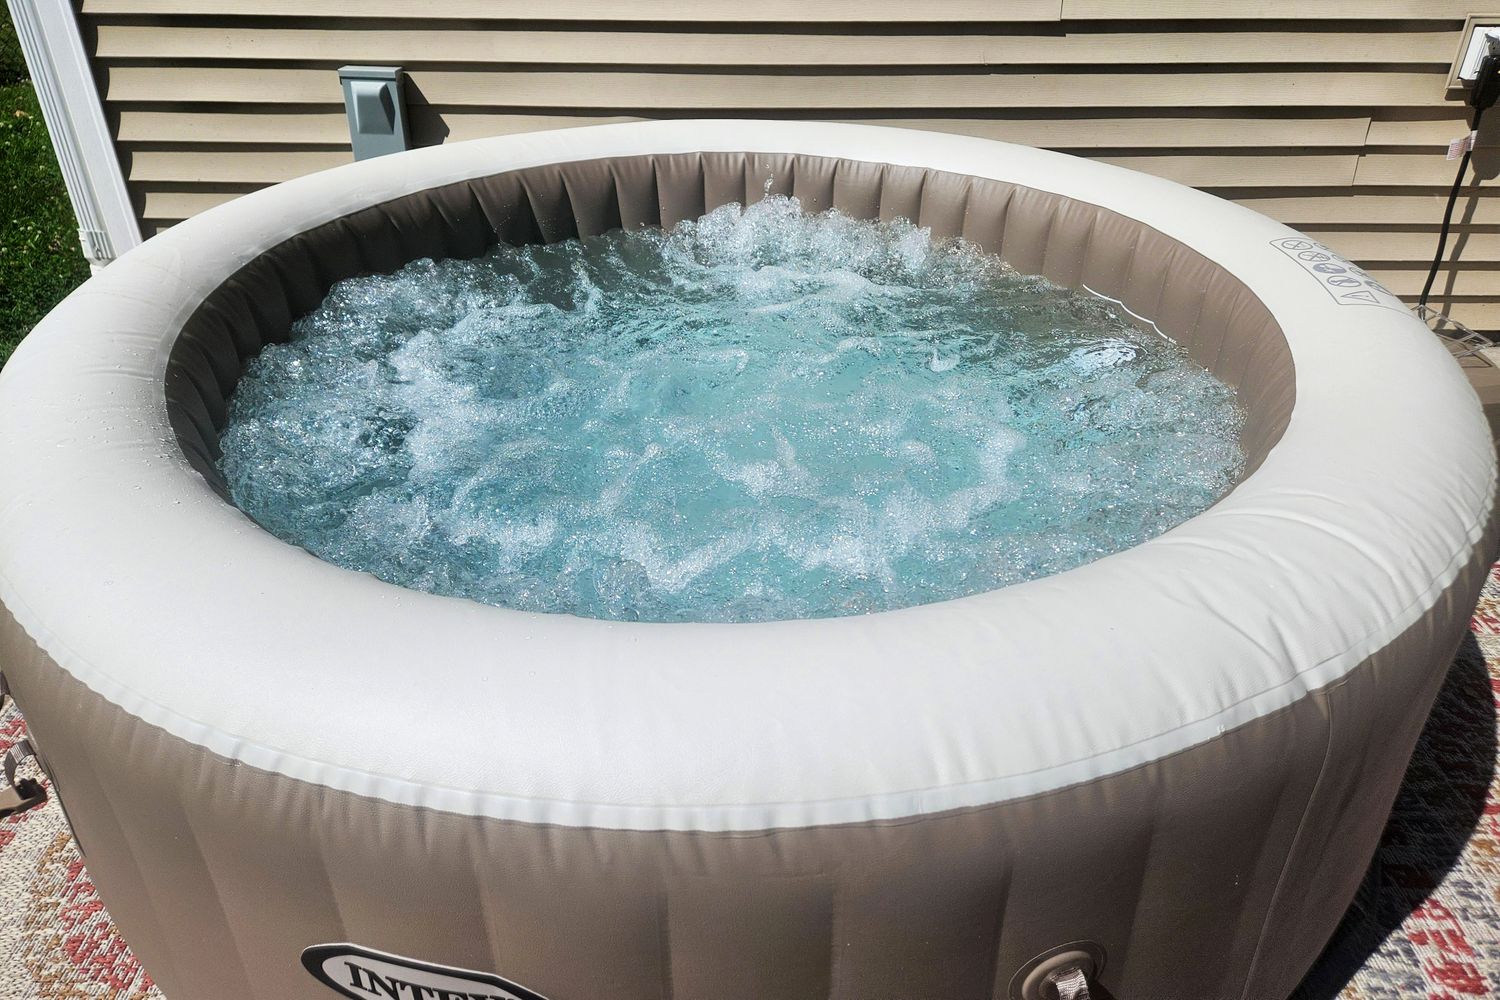
Fill with water and test
Start by placing the Intex hot tub on a perfectly flat, level surface. Uneven ground can cause the vinyl to stretch unevenly or the frame to bow, leading to premature wear. Use a spirit level to check the base before inflating the side rings completely. Once the tub is stable, position the pump and filter cartridge according to the manufacturer’s diagram, ensuring they are securely locked into their designated slots.
Connect the power cord to a grounded GFCI outlet. Do not plug the tub in yet. Fill the tub with cold water using a standard garden hose. Fill it to the level marked inside the tub or approximately two inches below the top edge. Overfilling can cause water to spill onto the pump controls during operation, creating a safety hazard. If you have a water test kit, check the pH and alkalinity levels now. Adjust them if necessary before turning on the power.
Plug the tub into the GFCI outlet. Press the power button on the control panel. Set the temperature to the lowest setting (usually 25°C or 77°F) for the first cycle. This allows the system to run continuously without hitting the max temperature cap, helping you verify the heater and pump are functioning correctly.
While the tub is filling and heating, inspect all seams, the valve caps, and the connection points between the pump and the tub body. Look for any dripping or pooling water on the ground beneath the unit. Tighten any loose caps or reseat connections if you notice moisture. Even a slow drip can indicate a poor seal that needs attention before full use.
Let the tub run for at least 24 hours. This initial cycle serves as a break-in period for the internal components. Monitor the temperature rise to ensure the heater is working. After 24 hours, drain the water, clean the interior with a mild soap and water solution, and rinse thoroughly. This removes any manufacturing residues or protective coatings from the vinyl.
After the initial drain and rinse, refill the tub with fresh water. This second fill is your "clean" water for regular use. Test the chemistry again and balance the pH and alkalinity. Once balanced, you can set the temperature to your desired level. The Intex hot tub is now ready for use.
Convert to salt water system
Switching your Intex hot tubs to a salt water system simplifies maintenance and leaves your skin feeling softer than traditional chlorine treatments. The process involves installing a compatible salt chlorinator cell and adding the correct amount of salt to the water. This setup generates chlorine on demand, reducing the need to handle harsh chemicals directly.
Warning: Do not use standard salt water hot tubs; use only salt chlorinators designed for inflatable spas to avoid corrosion.
Drain your Intex hot tub completely. Remove the filter and clean the interior walls to remove any residual chlorine or scale. A clean surface ensures the new salt system works efficiently without interference from old contaminants.
Locate the filter housing on your Intex hot tubs and insert the salt chlorinator cell in the direction of water flow. Ensure the O-ring is lubricated with silicone grease to prevent leaks. Connect the cell to the control box according to the manufacturer’s wiring diagram.
Refill the tub with fresh water. Add pool-grade salt directly into the water while the pump is running to help it dissolve evenly. Check your salt chlorinator’s manual for the exact PPM (parts per million) required, typically between 2,500 and 3,500 PPM for inflatable spas.
Turn on the system and let it run for 24 hours. Test the water balance using a reliable kit. Adjust the salt level if necessary, and set the chlorinator’s output percentage based on your usage frequency. Regular testing ensures the system maintains safe sanitizer levels.
This conversion extends the life of your Intex hot tubs by reducing chemical buildup in the lines. For replacement parts like cells or control boxes, refer to the official Intex replacement parts page to ensure compatibility with your specific model.
Maintain temperature and clarity
Keeping your Intex hot tubs at the right temperature and keeping the water clear are two separate but connected tasks. One relies on your pump and heater running efficiently; the other depends on water chemistry and filtration. If you let one slide, the other suffers. Cloudy water makes heaters work harder, and a dirty filter lets debris clog the system, causing temperature drops.
Clean the filter weekly
The filter is the first line of defense against debris. A clogged filter restricts water flow, which can trigger error codes or cause the heater to overheat and shut off. Remove the filter cartridge and rinse it with a garden hose. If the water is heavily soiled, soak it in a filter cleaner solution for an hour before rinsing. Replace the filter every three to six months, or sooner if it shows signs of wear.
Balance the water chemistry
Clear water starts with balanced chemistry. Test your water twice a week using test strips or a liquid kit. Aim for a pH between 7.2 and 7.8 and total alkalinity between 80 and 120 ppm. If your Intex hot tubs have a saltwater conversion kit, monitor the salt level regularly. Low salt levels reduce sanitizer effectiveness, leading to cloudy water and potential skin irritation. Add sanitizers as directed by the product instructions, never exceeding recommended doses.
Inspect the cover
A damaged or poorly sealed cover is the biggest cause of heat loss. Check the cover straps and Velcro closures weekly to ensure a tight seal. If the cover is cracked or waterlogged, it will let heat escape rapidly, forcing your heater to run constantly. Clean the cover with a vinyl cleaner every few months to prevent mold and extend its life.
-
Remove and rinse the filter cartridge
-
Test water pH and alkalinity levels
-
Check sanitizer levels and add if needed
-
Inspect cover for damage and secure straps
-
Wipe down the interior shell with a soft cloth
A clean filter and balanced water mean less strain on your Intex hot tubs components and a more relaxing soak. Stick to this routine, and you will avoid most common maintenance headaches.
Winterize and store your Intex spa
Preparing your Intex hot tubs for cold weather or long-term storage prevents mold growth and material degradation. Proper draining, thorough drying, and careful folding ensure the PVC structure remains intact and ready for its next use.
Use the built-in drain valve or a submersible pump to remove all water. Ensure the pump is unplugged before accessing any electrical components. A completely dry interior is essential to prevent standing water from causing mildew inside the shell.
Wipe down the interior with a mild detergent and warm water. Rinse thoroughly to remove any soap residue that could attract dirt or degrade the material over time. This step removes biofilm and bacteria that thrive in damp environments.
Use a soft, absorbent towel to dry the interior and exterior surfaces. Allow the tub to air dry in a shaded, well-ventilated area for at least 24 hours. Moisture trapped inside the folds is the primary cause of mold and unpleasant odors during storage.
Open the air valves to release remaining pressure. Fold the tub along its natural seams to minimize stress on the PVC material. Avoid sharp creases that could crack the material over time. Keep the pump and filter cartridge separate in their original packaging if possible.
Place the folded tub and accessories in its carrying case or a breathable storage bag. Store in a location away from direct sunlight, extreme temperatures, and pests. UV exposure and humidity are the main enemies of inflatable spa longevity.
Common intex hot tub: what to check next
Addressing safety, electricity, and longevity concerns upfront helps reduce purchase anxiety for Intex hot tubs. Understanding these core operational areas ensures your inflatable spa remains a reliable retreat for years.
Electricity and power requirements
Intex hot tubs must plug into a standard grounded 120-volt outlet. The built-in pump handles both heating and circulation, so you do not need a dedicated circuit or hardwiring. If the outlet is far from the tub, use a heavy-duty outdoor extension cord rated for the pump's wattage to prevent voltage drop. Avoid daisy-chaining multiple cords, as this increases fire risk and can trip breakers.
Preventing leaks and damage
Inflatable hot tubs rely on reinforced PVC layers that can puncture if dragged across rough surfaces. Always use a protective ground mat underneath the tub before filling. Check the air rings and valve caps regularly for slow leaks, and keep sharp objects like jewelry or pet claws away from the waterline. If you notice a drop in air pressure, top it off before heating to avoid straining the pump.
Salt water compatibility
Standard Intex models are not designed for saltwater systems. The chlorine generator and salt cells included in some kits use low-concentration salt solutions specifically calibrated for the tub's internal plumbing. Adding pool-grade salt or high-concentration mixtures can corrode the metal components and void the warranty. Stick to the manufacturer's recommended chemical balance for longevity.
No comments yet. Be the first to share your thoughts!